

DIY Wedding Program Fans
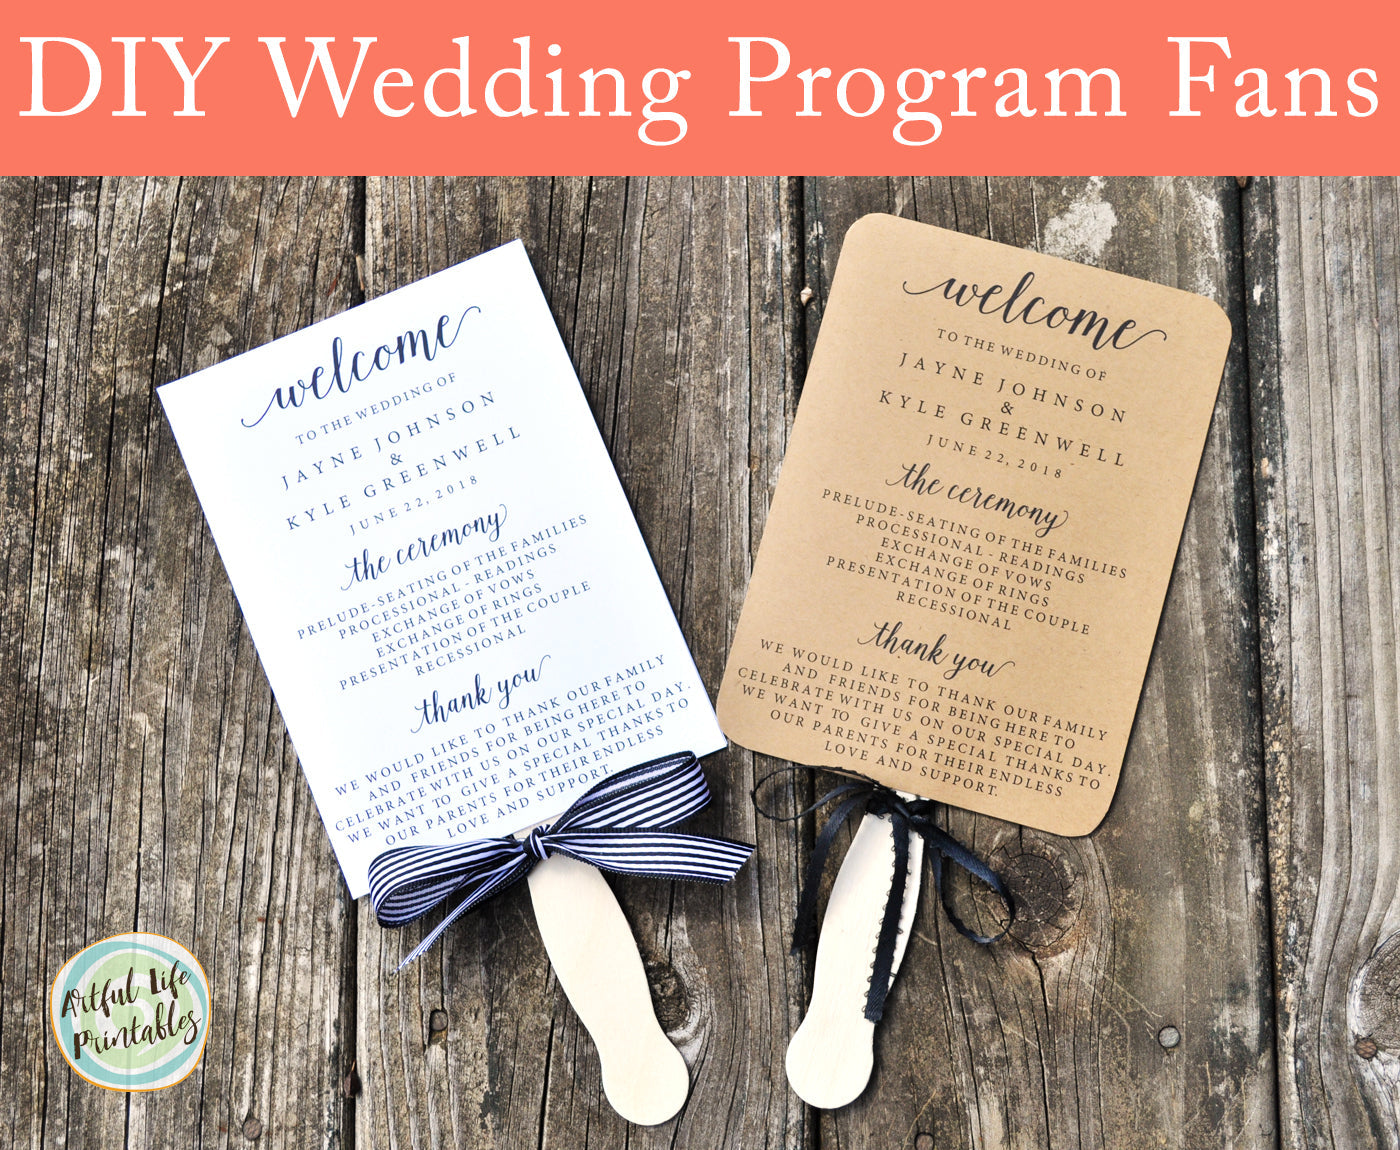

Love is hot, especially on a warm summer day! Keep your wedding guests cool with DIY Wedding Program Fans! Start with an inexpensive and easy-to-use Wedding Program Fan Template from Artful Life Designs Digital Wedding Signs and Stationery Collection.
SUPPLIES
- 65 lb or heavier Card Stock
- Glue Tape or Glue Stick
- Bone Paper Creaser (you can also use the edge of a ruler or wood craft stick)
- Paper Cutter or X-Acto Blade and Mat
- Paddle Sticks
- Round Corner Punch (optional)
Once you've purchased your program fan template, edited and downloaded it using our online software at Templett.com, you're ready to print and assemble your program fans.
You can easily print your program fans at home, a copy center or print shop. Read our tutorial How To Print Your Wedding Signs And Stationery for more info. You’ll want to use a heavy cardstock. 65 - 100 lb will work well for a program fan. Our Paper Selection Tutorial offers some great resources for helping you find and select the right paper.

For a more rustic look, you can use brown Kraft paper.

Fold the printed fan in half using the center marks as a guide.

Use a bone creaser, ruler, craft stick, or any similar item that will help you get a sharp crease. I used one of my wooden fan paddles and it worked great!

Your fan will be easier to cut if you fold it first. Use a paper cutter for best results.

Trimming your fan while it’s folded gives a really clean and even edge. If you don't have access to a paper cutter, you can use an X-Acto blade and cutting mat.

Use glue tape or a glue stick around the edges and in the center where you’ll place the paddle stick. Make sure you get it close to the edges all around.

NOTE: I tried Glue Tape, Glue Dots and Glue Sticks and they all worked well. You may want to experiment with a few options to see which you like the best.

Place the paddle stick so about half of it extends below the bottom of the program fans. My paddles were 8 inches long, so I marked the inside of my programs 4 inches up from the bottom. This doesn’t have to be exact and after doing a few, you could probably just eyeball it!

Once you have your paddle in place, fold the fan shut, pressing firmly all around to stick it tight.
FINISHING TOUCHES
If you prefer round corners, use a corner punch, which you can find at your local craft store. A ribbon tied onto the handle is also a lovely accent. We cut our ribbon about 18 inches long and tied it where the paddle met the bottom of the fan.

Here's a view of one program fan from the back. So cute from both sides!

Artful Life Designs offers a variety of inexpensive and easy-to-use DIY Wedding Programs, Wedding Signs and Wedding Stationery. All Templates and Printables are BUY 3, GET 40% OFF, so buy a bundle and SAVE!

We also have many helpful tutorials for DIY Brides and Grooms! For more information, please read our FAQs page or Contact Us with any questions!
Leave a comment
Comments will be approved before showing up.
Also in Artful Life Designs News & Tutorials
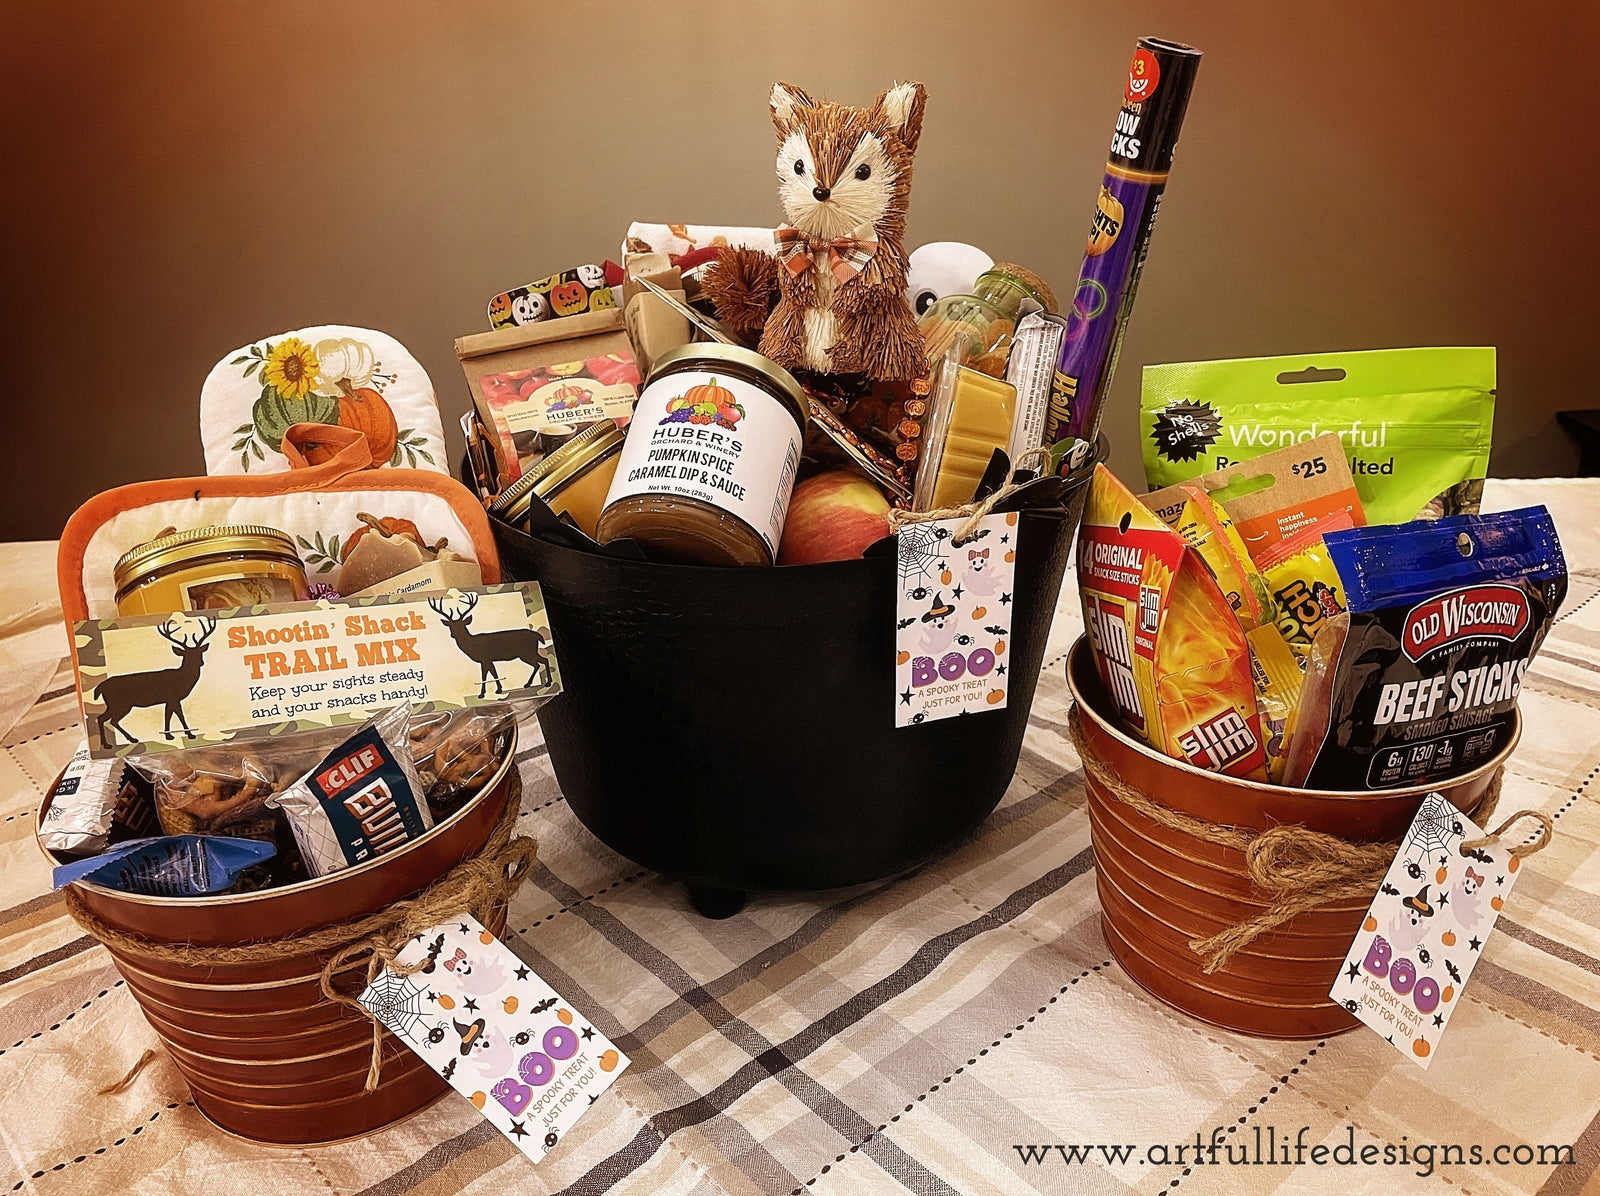

Halloween Boo Basket Ideas | Free Printable Tag & Instructions
Make Halloween extra fun with easy DIY Boo Basket ideas! Download a free printable tag and instruction sheet to create your own spooky surprise.
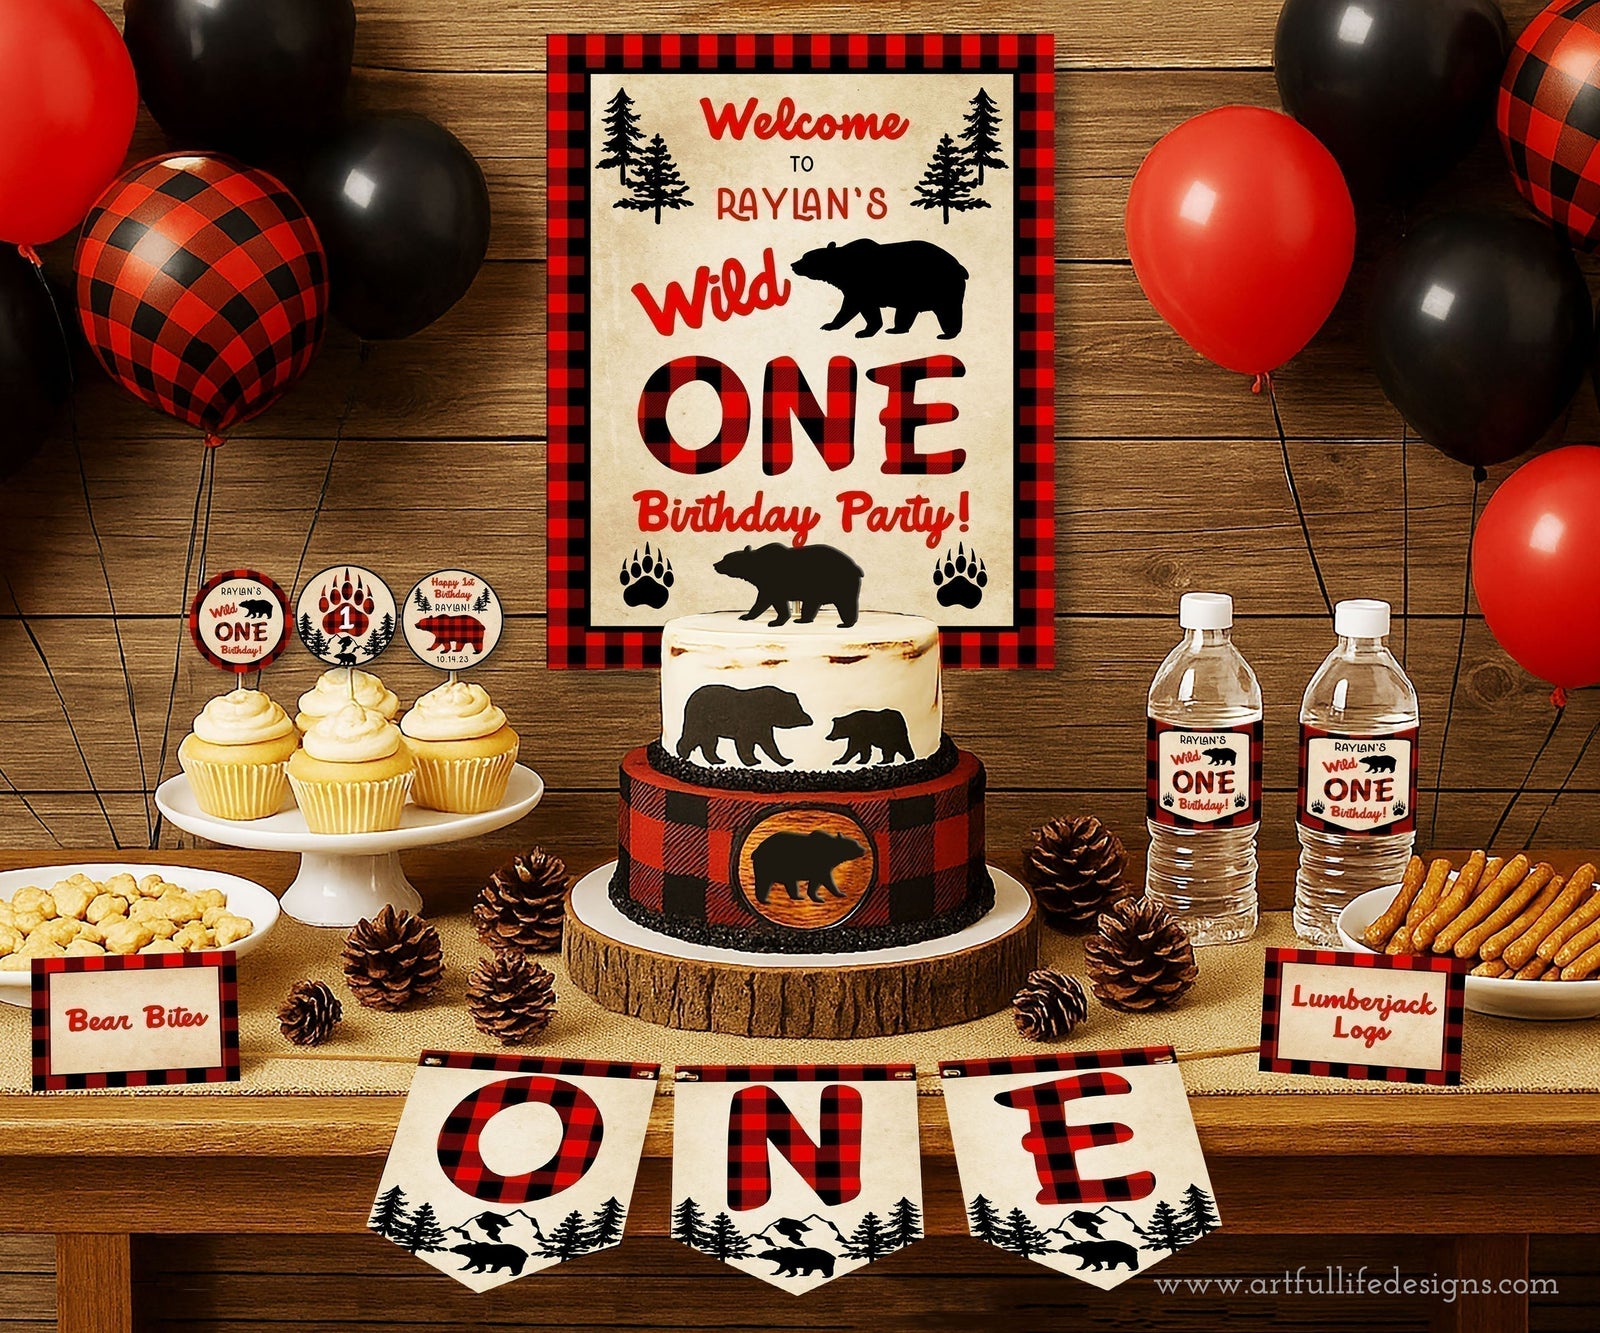

Wild One Buffalo Plaid First Birthday
Planning your little one’s first birthday is such a special milestone, and the Wild One theme is a perfect way to celebrate. With its rustic buffalo plaid patterns, woodland bear accents, and cozy campfire vibe, this party style captures the spirit of adventure while still being fun and kid-friendly.


DIY Kid’s Football Birthday Party Ideas with Printables
Score big with your child’s special day! This guide to football birthday parties is packed with creative ideas, DIY decorations, fun printable games, and snack table inspiration—perfect for a first birthday, kids’ football party, or team-themed celebration.