

DIY Wedding Invitation Envelope Liners

This tutorial will show you how easily make DIY envelope liners to add a special touch to your wedding or shower invitations. Artful Life Designs offers a variety of printables such as signs, invitations and other wedding or special event stationery.
Today we're using one of our envelope liner printables to show you step-by-step how to create beautifully lined envelopes.
Each Artful Life envelope liner printable includes liners for several envelope sizes: A7.5-Euro Flap, A7-Euro and Square Flaps, A2-Euro and Square Flaps, and A1-Euro and Square Flaps.
We also include a bonus full sheet you can use for making your own templates if you have an unusual shape or size envelope.
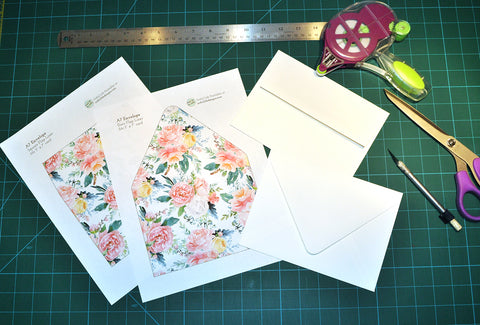
MATERIALS:
- Envelope Liner PDF Printable
- Paper (20 lb. copier paper weight)
- Cutting mat
- Metal Ruler
- X-acto knife
- Scissors
- Glue tape/dispenser (glue stick or double sided tape will also work)
- Envelopes
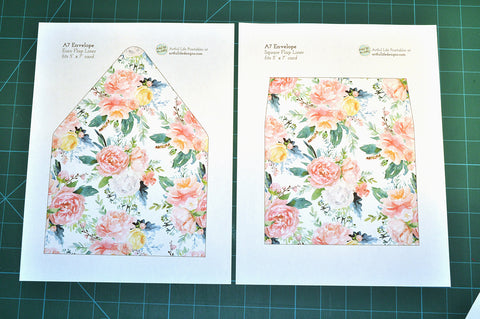
Artful Life Designs Floral A7 Envelope Liners Euro Flap and Square Flap
Step 1 Print your liners using the Artful Life Designs printable PDF of your choice to match your size and style envelopes.
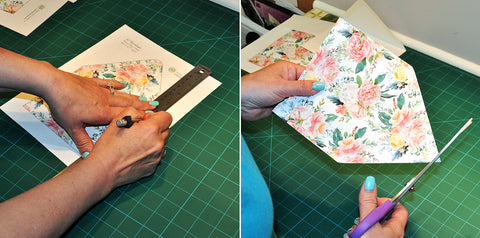
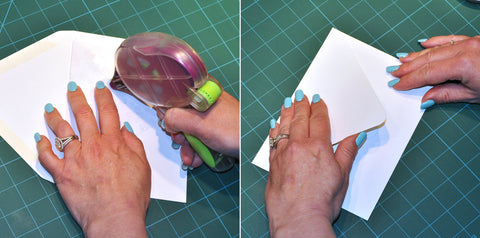
Step 2 Cut with X-actor and ruler. Then trim curved edge with scissors.
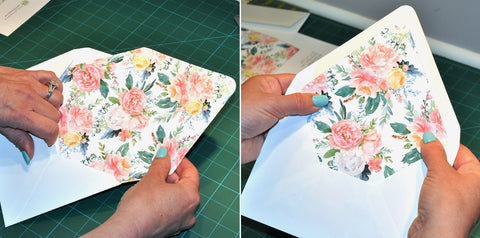
Step 3 Insert liner into envelope aligning top edge of liner to the glue edge on the envelope flap. (You don't want the liner to cover the glue.)
Step 4 Carefully fold the envelope flap down, keeping the liner in place as you fold.
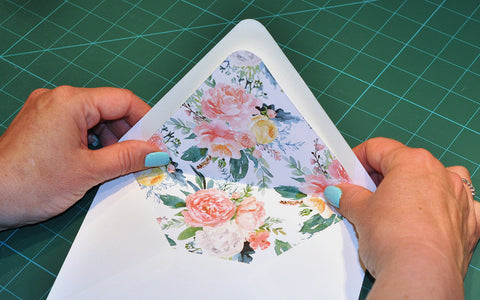
Step 5 Lift the flap up, but keep the liner folded down.
Step 6 Using the adhesive tape dispenser to put a strip of adhesive along the top edge of the liner.
Tip: I highly recommend a glue tape dispenser if you have a lot of envelopes to do. I used the Glue Glider Pro that I purchased at my local craft shop. The strip of adhesive is about 1/4" wide which works very well when doing envelope liners.
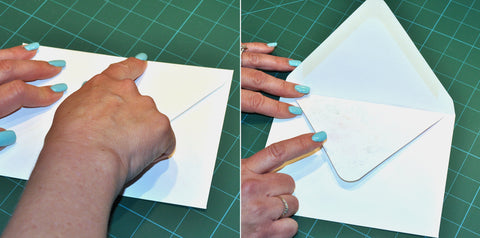
Step 7 Make sure the liner is still in the correct position and carefully fold the envelope flap closed, pressing it firmly onto the liner.
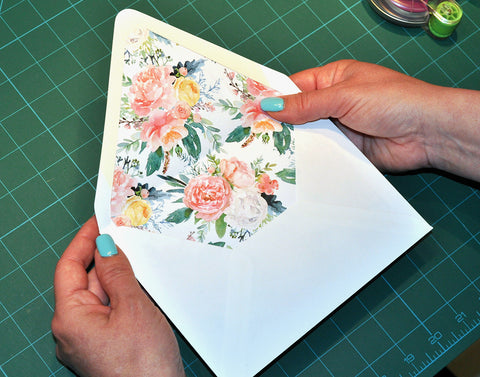
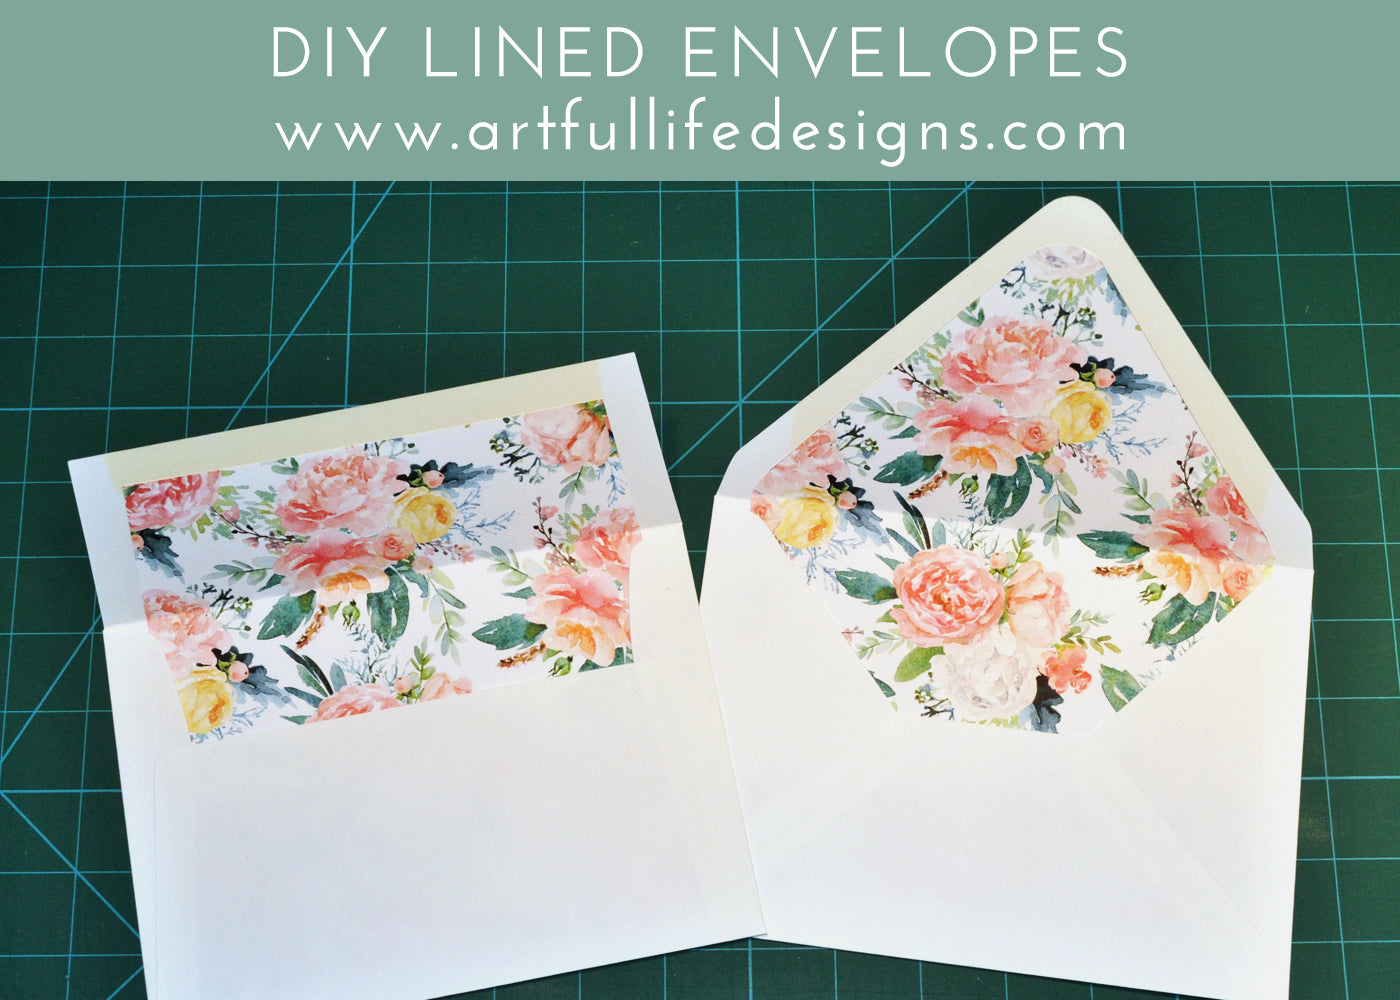
Open the flap to see your lovely envelope liner perfectly in place! Now you're ready to stuff, seal, stamp and mail!

Browse envelope liners and other wedding extras. All Templates and Printables are Buy 3, Get 40% Off! Shop Now!
Leave a comment
Comments will be approved before showing up.
Also in Artful Life Designs News & Tutorials
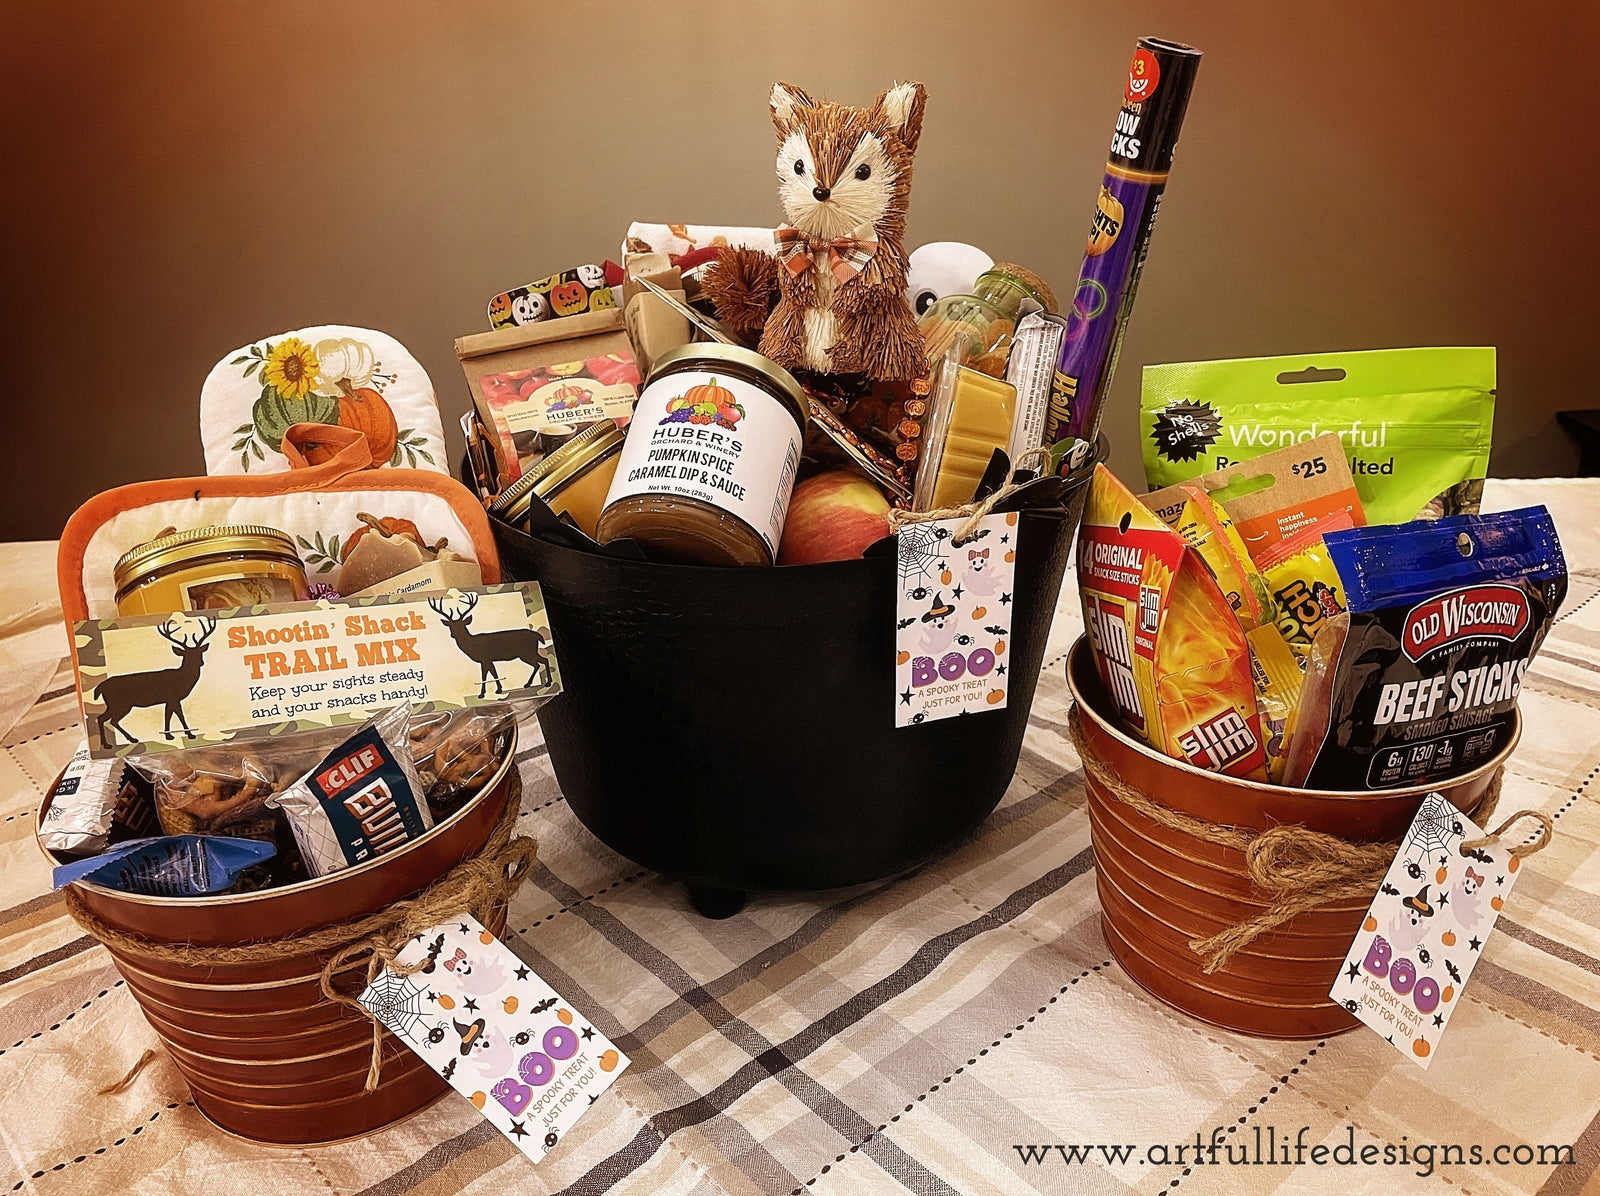

Halloween Boo Basket Ideas | Free Printable Tag & Instructions
Make Halloween extra fun with easy DIY Boo Basket ideas! Download a free printable tag and instruction sheet to create your own spooky surprise.
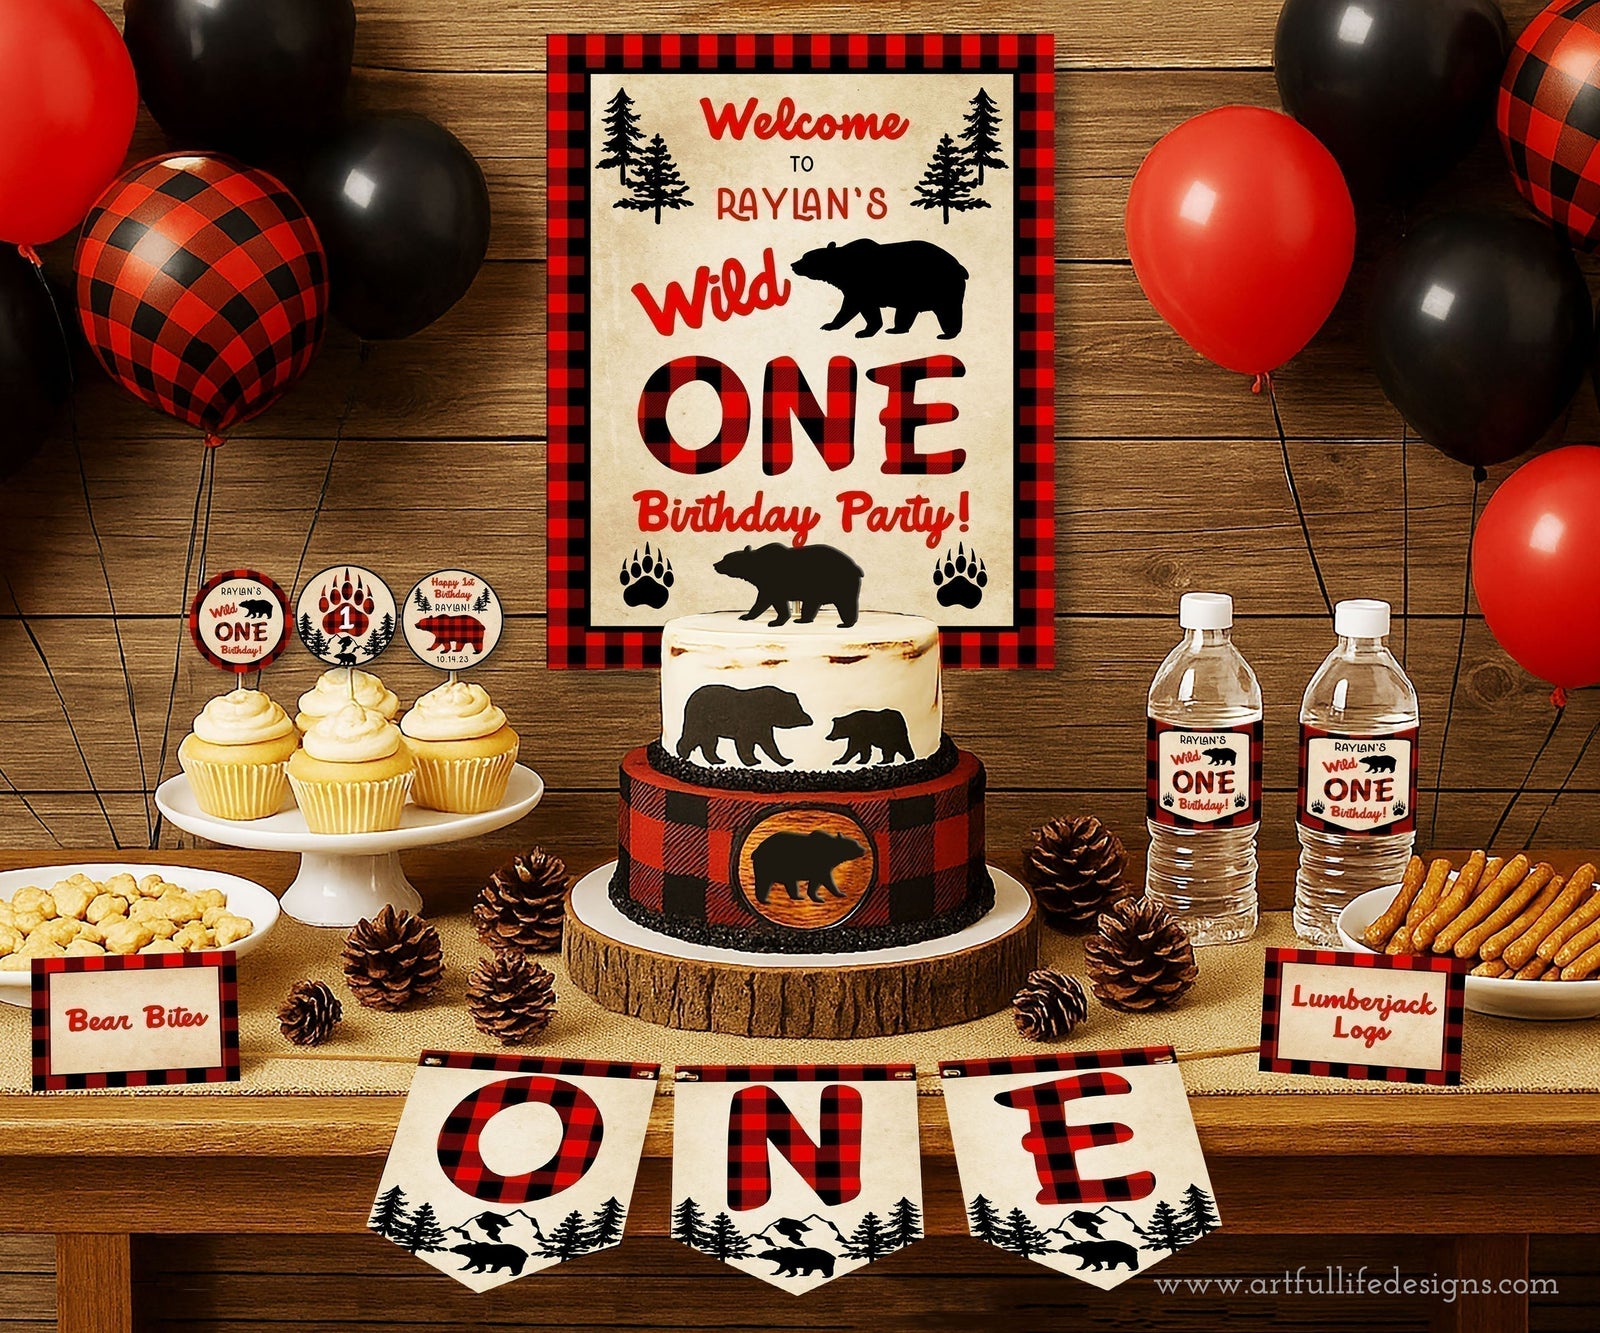

Wild One Buffalo Plaid First Birthday
Planning your little one’s first birthday is such a special milestone, and the Wild One theme is a perfect way to celebrate. With its rustic buffalo plaid patterns, woodland bear accents, and cozy campfire vibe, this party style captures the spirit of adventure while still being fun and kid-friendly.
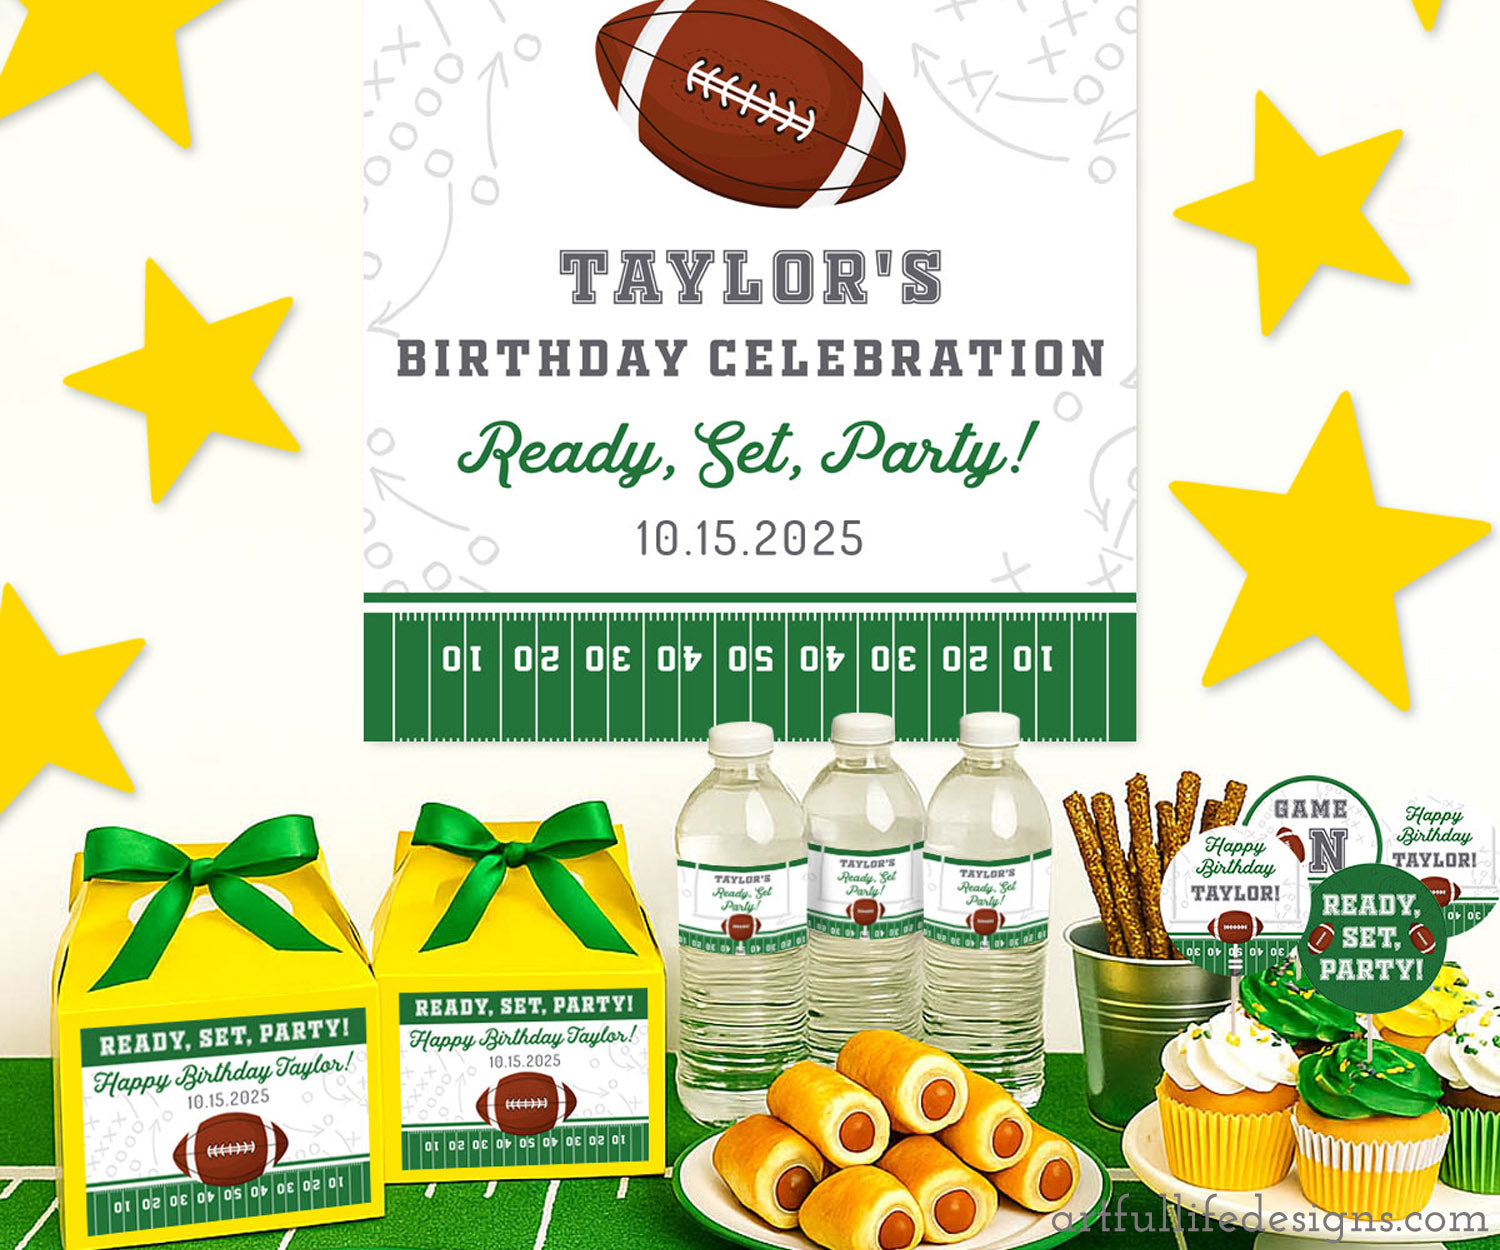

DIY Kid’s Football Birthday Party Ideas with Printables
Score big with your child’s special day! This guide to football birthday parties is packed with creative ideas, DIY decorations, fun printable games, and snack table inspiration—perfect for a first birthday, kids’ football party, or team-themed celebration.